What is 802.1x?
802.1x is a network access control protocol that provides authentication for devices trying to connect to a LAN or WLAN. It’s commonly used in enterprise environments to secure Ethernet and Wi-Fi networks. The authentication is usually performed using RADIUS servers.
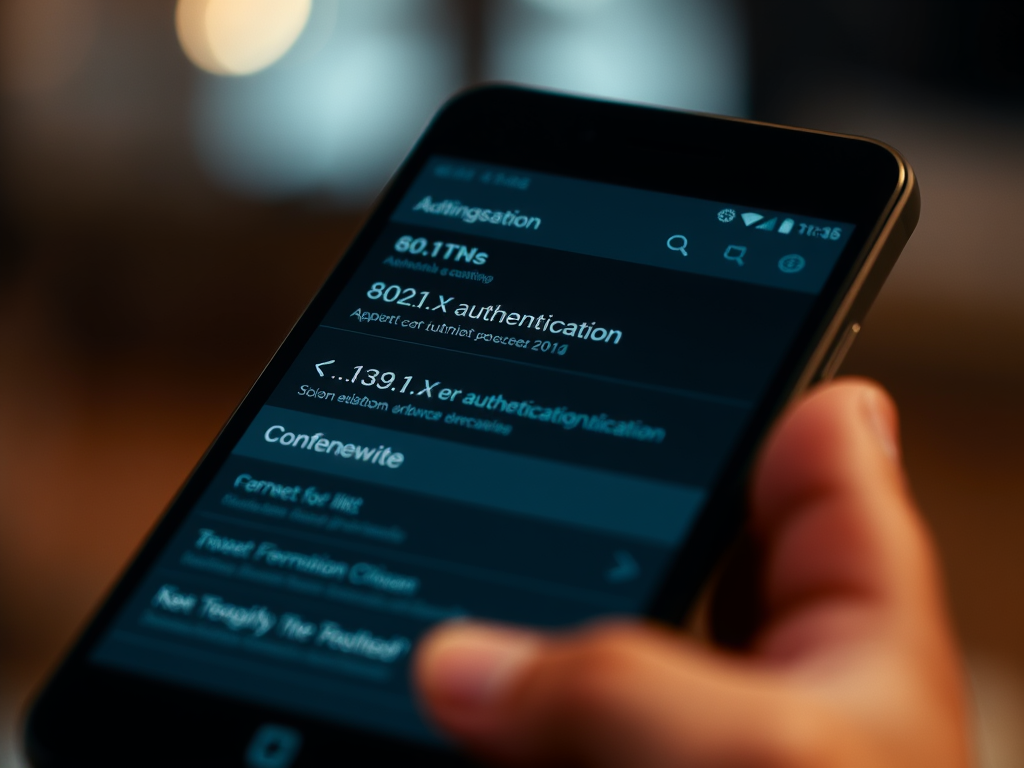
Steps to Configure Ethernet 802.1x on Android
- Check Device Compatibility:
- Not all Android devices natively support Ethernet connections, and support for 802.1x over Ethernet can be even rarer. First, ensure your device supports Ethernet connections either through a USB-to-Ethernet adapter or a built-in Ethernet port.
- Connect the Ethernet Adapter:
- If your device doesn’t have a built-in Ethernet port, you’ll need a USB-to-Ethernet adapter. Once connected, your device should recognize the Ethernet connection automatically.
- Navigate to Network Settings:
- Go to Settings > Network & Internet (or similar, depending on your device’s UI).
- You should see an option for Ethernet or Wired Network.
- Configure 802.1x Authentication:
- If your device supports 802.1x for Ethernet, you should see options for configuring the authentication under the Ethernet settings. The specific settings you’ll need to configure include:
- EAP Method: Choose the appropriate EAP (Extensible Authentication Protocol) method, such as PEAP, TLS, TTLS.
- Phase 2 Authentication: Depending on the EAP method, you may need to configure this (e.g., MSCHAPV2).
- CA Certificate: Import and select a CA certificate if required.
- User(Client) Certificate: Import and select a User(Client) certificate if required.
- Identity: Enter the username or identity provided by your network administrator.
- Anonymous Identity (optional): Sometimes used with EAP methods like PEAP.
- Password: Enter the password associated with your identity.
- If your device supports 802.1x for Ethernet, you should see options for configuring the authentication under the Ethernet settings. The specific settings you’ll need to configure include:
- Advanced Options:
- You may need to configure additional advanced settings like IP settings (DHCP or static) and Proxy depending on your network configuration.
- Save and Connect:
- Once you’ve entered all the necessary information, save the configuration and connect to the network. The device will attempt to authenticate using the 802.1x protocol.


Troubleshooting
- Compatibility: If you don’t see the options mentioned above, your device may not support 802.1x over Ethernet natively.
- Certificates: Ensure that any required certificates (CA, client certificates) are correctly installed on the device.
- Network Support: Verify with your network administrator that the network is correctly set up to support 802.1x authentication over Ethernet for the specific device and Android version.
Note: If your device doesn’t support 802.1x over Ethernet natively, please contact for solution.


Leave a Reply